Guides
First game: a walkthrough
Data last checked: · how we verify numbers
On this page
Your first game of Defenders of Hogwarts will feel tight, slow and occasionally punishing for roughly the first three rounds — that is the design working as printed, not a rules error [our analysis, from card values]. This walkthrough gives you a rulebook-derived path through it: what to read before dealing, what to prioritise in the opening turns, why the bump-reset pain fades, and how to close the game out. Based on rules as printed; untested by us.
Scope
Everything on this page comes from the official MinaLima rulebook and, where named, One Board Family’s published review of 10 September 2026 — based on rules as printed; untested by us. We have not played the game; this is analysis, not a play report.
Before you deal: what to read, and in what order
You do not need everyone to read the whole rulebook. The order we recommend, derived from how the rules depend on each other [our analysis]:
- The overview and win conditions first — printed pages 3 and 5: the setup background, the two victory conditions, and the fact that this is a competitive game with one winner, not a co-op [official, p. 3–5]. Read our plain-English version of what kind of game this is if the “RPG” headlines confused anyone.
- Setup, pages 6–9 — main board, side board, the Dark Arts Player’s board, then the House Players’ boards. Our setup page turns those pages into a checklist you can follow while unboxing.
- The House Player turn, pages 16–17 — one Main Action (Explore, Learn or Replenish), then Bonus Spaces, then Free Actions.
- Bump and stun, pages 16 and 21 — only read these once someone asks “what happens if we land on each other?”, because the two cases go in opposite directions.
- The glossary as needed — the rulebook’s own back section defines every term we restate in our glossary.
The rulebook also includes five Player Aid Cards showing the turn structure and key symbols — put one in front of each new player rather than passing the rulebook around [official, p. 4].
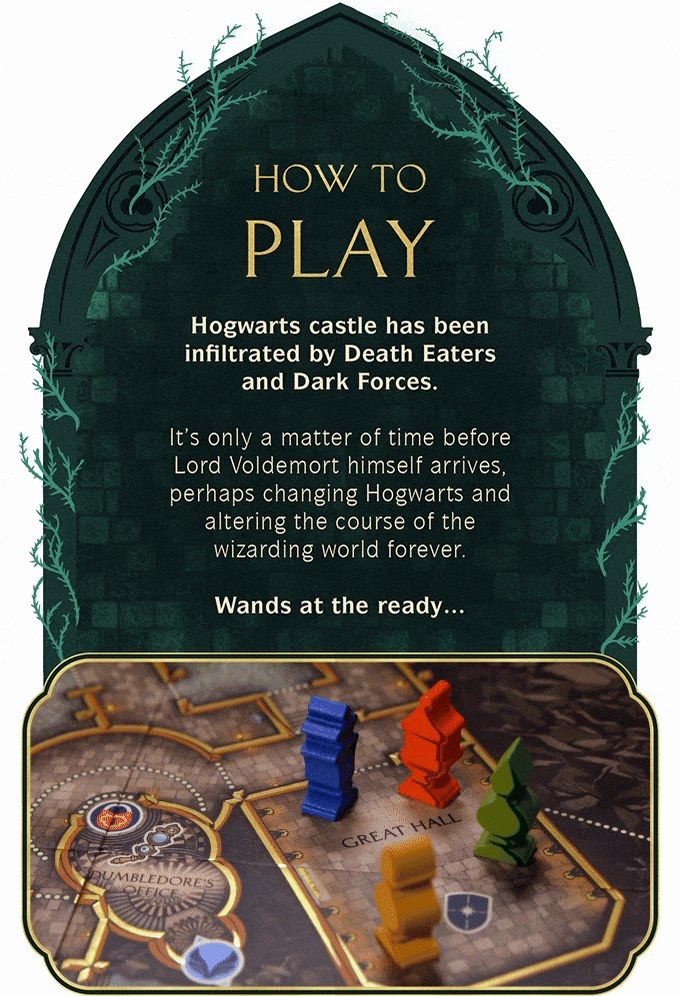
The opening three turns are meant to feel small
One Board Family’s review is blunt about the opening: “Those first few rounds are very boring.” One Board Family, 2026-09-10
The rulebook explains why, and knowing the mechanics behind the boredom helps you wait it out [our analysis]:
- Your hands are small and your cards are slow. Every player draws 5 cards from a 7-card Starter Deck, so only 2 cards remain unseen, and the discard pile is empty [official, p. 8–9].
- Movement values are small. The starter cards move a pawn 2, 3 or 4 spaces per card — 6 only if you combine the Explore card’s 2 + 2 onto a single pawn, and multi-move cannot be split any other way [official, p. 13, p. 16].
- One Main Action per turn. You play one card on an Explore, or you Learn, or you Replenish — never two of those [official, p. 16–17].
Expect each House Player to move one pawn partway across the grounds while the Dark Arts Player repositions. Nothing is wrong. The board opens up once tokens and acquired cards arrive.
Turn 1, 2 and 3 priorities
The table compresses our rulebook-derived advice for each side’s first three turns [our analysis].
| Turn | House Player priority | Why, from the rules | Dark Arts Player priority | Avoid |
|---|---|---|---|---|
| Turn 1 | Explore with your biggest single move (Trevor, 4) or the combined Explore 2+2 to push one pawn toward a Hogwarts Token space. | Tokens are only picked up by ending a pawn’s move on their space, and a token gained this turn is usable from your next turn — so the sooner you grab one, the sooner you bank extra actions [official, p. 11]. | Reposition: only the 3-movement Conspire has any effect in your starter deck; the other six cards are pure movement [official, p. 13]. | Do not Replenish with a full hand — you would advance the Dark Arts Marker for zero cards [official, p. 17, p. 22]. |
| Turn 2 | Use the Hogwarts Token gained last turn if you have a matching card type; otherwise Learn with 1 discard for an Acquire Row card. | Using a token means returning it and taking an extra Explore with a card of the same type [official, p. 11]; a Learn purchase goes face-down on top of your Draw Deck, so it returns within a deck cycle or two [official, p. 17]. | Play Conspire (3) if you can spare it — it draws 1, discards 1 and deploys 1 pawn, the only starter card that touches your off-board pool or your hand shape [official, p. 13]. | Bumping on turn 1–2 wastes tempo if the pawn’s return trip leaves it stranded — the bumped pawn leaves the board entirely and costs 1 movement to redeploy [official, p. 20–21]. |
| Turn 3 | Point a pawn at the regions named on two of your three House Player Location Cards — the first Parchment Scroll needs both satisfied at once. | A scroll is claimed only while one of your pawns stands in the regions of two Location Cards simultaneously; you then discard both cards [official, p. 17]. Every shield needs a scroll, so the first scroll is your longest lead-time item. | Shadow whichever House pawn is closest to a token or shield space — a bump now costs that player a full rewalk. | Spending your second discard on an Advanced card before you actually need it — Learn costs cards you may want in hand for movement. |
What to prioritise, in order: tokens, cards, scroll
The victory math is two shields, and each shield needs three items — a Library Book Card, a Parchment Scroll, and whichever third item that shield’s art prints (a Dark Detector or a D.A. Coin) [official, p. 5, p. 18]. So the opening-game investment order [our analysis]:
- Hogwarts Tokens first. Seven exist, one per card type, and each held token is worth one extra Explore later — return it and immediately play a card of that type [official, p. 11]. That is the cheapest action economy in the game, and the earliest one you can reach.
- Better cards second. Learn turns 1 discard into an Acquire Row card (or a blind draw from the Acquire Deck top) and 2 discards into an Advanced Acquire Row card plus one step up the Hogwarts Loyalty Track [official, p. 17]. Acquired cards land face-down on top of your Draw Deck — you will draw them quickly, which is why even one purchase reshapes your turn within a couple of rounds [our analysis].
- Your first scroll third. It needs two Location Card regions satisfied at once, then both cards are discarded, and your first scroll immediately replaces them with two fresh targets [official, p. 17]. You get at most two scrolls all game, and both are committed to your two shields — so the scroll economy, not the shield spaces themselves, is the long pole [our analysis].
Common mistake
Treating a freshly gained Hogwarts Token as an immediate extra action. The rulebook is explicit that a token can only be used from the turn after it is gained, that the played card must match the token’s type, and that the token returns to its board space after use [official, p. 11].
The bump-reset pain — and why it fades
Early in the game, a bump is brutal: the Dark Arts pawn ends its move on your pawn, your pawn goes all the way back to the Great Hall, and at your deck size the rewalk repeats the same slow route you just climbed [official, p. 21]. One Board Family named this the game’s most frustrating repeated experience, and noted it eases as decks grow [One Board Family, 2026-09-10].
Why it fades, from the printed rules [our analysis]:
- Your deck cycles faster than the board resets. Every acquired card goes on top of your Draw Deck [official, p. 17], so a few Learn actions replace your slowest starter cards with longer moves and obstacle-crossing effects.
- Bumps cost the Dark Arts Player too. The bumping pawn returns to the off-board pool and must re-enter by spending a movement point on a Deployment Space [official, p. 20–21] — so every bump trades their tempo for yours.
- Stuns are your counterpunch. If your pawn ends its move on a Dark Arts pawn instead, both are stunned and you choose which adjacent space their pawn is pushed to [official, p. 16] — a stunned Dark Arts pawn is a pawn that cannot bump anyone.
- Protected Areas are bump-free islands. Four spaces on the main board carry the blue shield icon, and Dark Arts pawns can neither enter nor end movement in them [official, p. 10].
When the deck “clicks”
One Board Family’s review describes the turn from grind to game happening as players find card combinations in the later rounds [One Board Family, 2026-09-10]. The rulebook gives that moment its mechanics: from turn 1, every Learn purchase lands on top of your Draw Deck, Hogwarts Tokens add a second card per turn, and Bonus Spaces add Card Acquire, Card Draw or Play Again effects [official, p. 10–11, p. 17]. In our reading, the click lands for most tables once each House Player owns two to three acquired cards plus a token — around the time the Dark Arts Player’s zone-unlocked card effects start arriving too [our analysis].
Endgame checklist
A House Player wins the moment they collect their second Defence Shield — collect it and the game is over immediately [official, p. 5]. Before you commit to the final claim, verify [our analysis, from the printed requirements]:
- Shield space reachable — the exchange happens only when your pawn ends its move on that shield’s space; holding the items without standing there earns nothing [official, p. 5].
- Library Book Card in hand — you may hold only one at a time, so do not walk to the Library while still holding one [official, p. 11].
- Parchment Scroll in hand — spent from your two-per-game allowance [official, p. 17].
- The right third item — Dark Detector or D.A. Coin exactly as printed on that shield; the two are not interchangeable [official, p. 5, p. 18].
- The Detector’s price is paid — surrendering the Dark Detector for a shield moves your Loyalty Track pawn back 3 spaces, and if another House Player is at space 5 or beyond, the Detector passes straight to them [official, p. 18].
- The Dark Arts endgame is coming — when the Marker reaches the last Dark Arts Path space, everyone draws up to 5 cards and no one may Replenish again; the remaining hands play out to a win or a draw [official, p. 22–23].
If nobody completes their goal after those final cards, the game is a draw [official, p. 23].
Watch the official walkthrough chapters
Three chapters of MinaLima’s official 19-minute how-to video cover the moments this walkthrough leans on — plain links, they open on YouTube:
Sources
Official rulebook PDF, MinaLima: media.minalima.com — Defenders of Hogwarts rulebook (printed pages 3–23, 25–29). One Board Family review by Ryan Gutowski, published 10 September 2026: oneboardfamily.com — Defenders of Hogwarts review. Official how-to-play video and chapter timestamps: MinaLima Design, “How to Play: Defenders of Hogwarts ⚡️”. Our restated rules: how to play, setup, turn structure.